December 15, 2014

What I'm Thankful For + Christmas Tree Skirt

Hey y'all!

Happy Monday! I can't believe it's already December 15th... where has the time gone? Only 10 more days until Christmas and a week until I'll be packing my bags to head home for the holidays! 

I wanted to share with you the details of my Christmas tree skirt, but first I want to take a minute to share what I'm thankful for. It's so easy to get wrapped up in gifts and spending money during the holiday season, and now that I don't have school on my mind constantly I've begun to realize how lucky I truly am. Every morning on the way to work I listen to a radio station that does an annual "Breaking and Entering" into the homes of low-income families to leave them Christmas gifts, clothes, food, furniture, etc. I've been listening to this program since the start of December, and it has really made me think about my current situation. Here are a few things I'm thankful for:
  • My Apartment- I live in a safe place that has electricity and water, and is filled with all my "junk." I've taken for granted the fact that I don't have to worry about being able to pay my bills every month or being able to go to grocery store when I need to.
  • My Job- It's in my field, pays me enough to live on, and has given me friends in a new place. It has also provided all of the above!
  • My Car- It's safe, running, and paid for. Oh, and it has heat! :)
  • My Family- Even though they can be crazy, family always has your back. I'm so blessed by this. I would be nowhere without them.
  • My Dog- There's not much that makes me as happy as cuddling with Ellie in the mornings or seeing her sweet face when I get home from work. How awesome is it to have something that loves you unconditionally?
My sweet little BT.

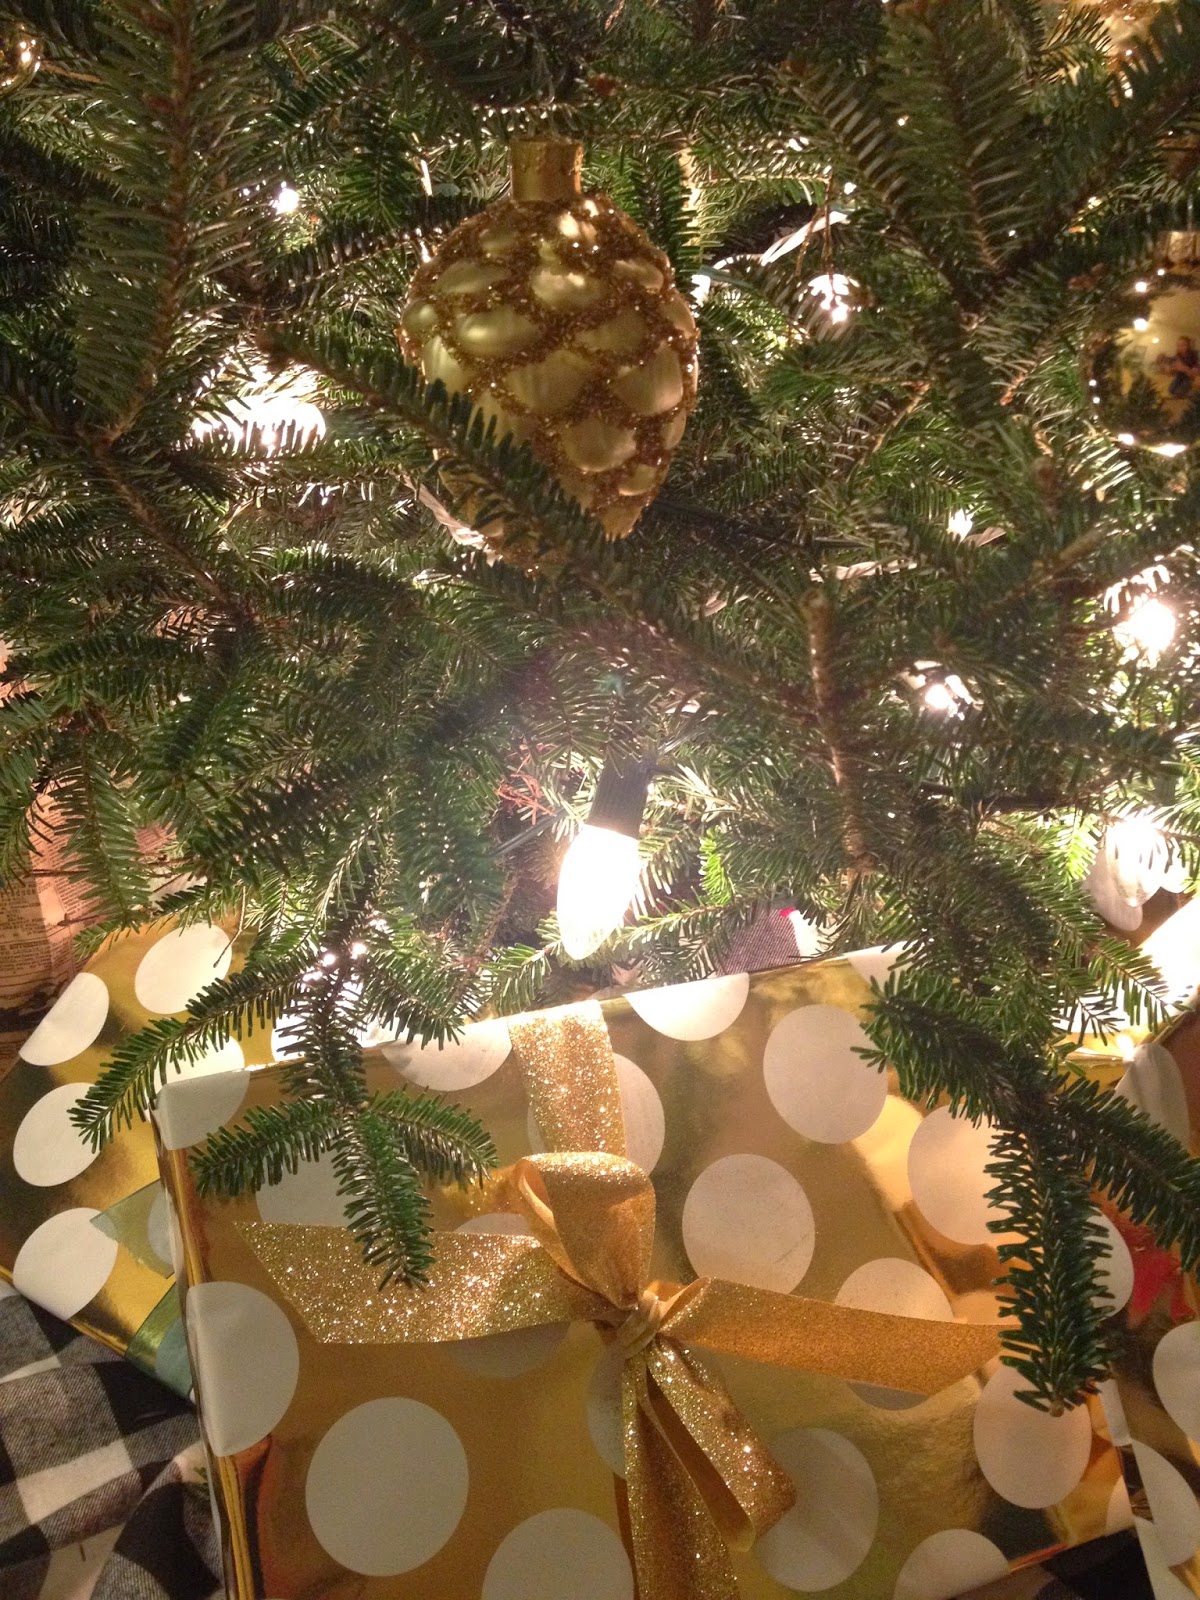
Now that I'm finished being mushy-gushy, here's a closer look at my Christmas tree skirt. 


So you've already seen this view... and honestly this is probably the best it's going to get! My apologies- I should have taken more pictures during the actual process. However, it was super easy and only took a couple of hours from start to finish. 

I first bought 2 yards of black and white buffalo checked flannel, three yards of red pom-pom trim, a roll of red yarn, a role of thick red grosgrain ribbon, and a few large needles from Joann's fabrics. I had this color scheme for the skirt in mind, however you could use any sort of fabric or trim to make your own! At home, I folded my aunt's tree skirt in half and used it to trace a semi-circle onto my flannel. I measured a second semi-circle in the middle for the tree hole, then cut a line up the side of the skirt. I wanted the skirt to have a homemade look to it so I decided to use red yard to stitch the pom-poms on with large, visible stitches.


After stitching the pom-poms on, I continued my stitches all the way to the "back" of the skirt, then around the hole for the tree. While making this, I discovered that I should have bought another yard of pom-poms, as the trim didn't wrap the entire circumference of the skirt. You live and learn, right? Good thing the pom-poms run out in the back. :) Lastly, I stitched three strips of grosgrain on either side of the "slit" in the skirt (totaling six strips of ribbon) to act as a tie in the back. 

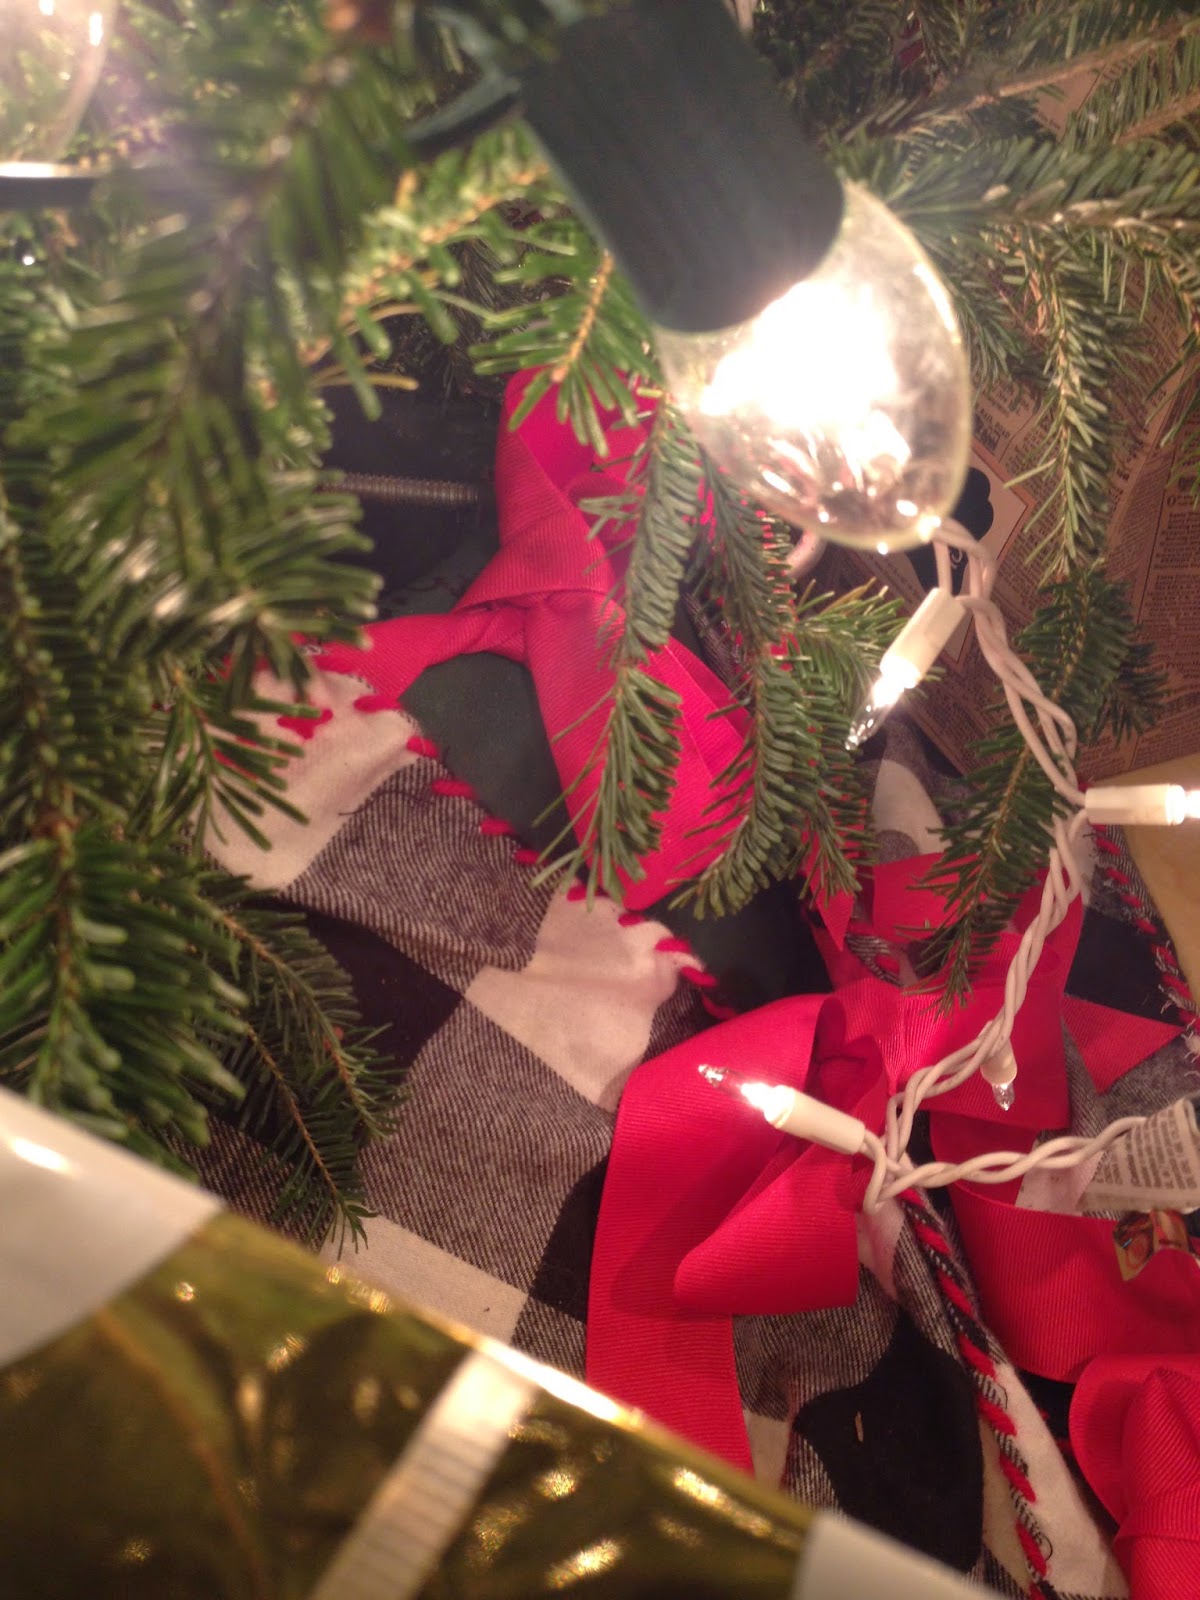
You can somewhat see the grosgrain ties in the "back."


Overall, I'm really happy with how this turned out. Thanks to a sweet lady in Joann's, I used a 40% off coupon for my flannel making this a super inexpensive project.

And because I can't not include this. Look at that lip! Total relaxation.

 Are you feeling especially thankful for anything in particular?

Until next time!
-Emmi 

P.S. The blog is now on IG! @emmiandellie

December 5, 2014

Christmas Decorations

Hey y'all!

I hope your week has gone smoothly! I'm so happy its the weekend; I've been feeling sick lately and I'm ready for some downtime. After my earlier post, I thought I'd share with you my "complete" Christmas decorations. I'll likely do a little more sprucing up between now and Christmas, but for now this is what I'm dealing with!

My finished wreath!

And a close up.

Compared to my last post, I feel like the wreath looks a ton better. I simply stuck stray branches and remnants cut from my Christmas tree into the "fall" wreath I've had since September. I didn't secure the remnants at all, and I'm thinking it will be super easy to pluck these from my wreath at the end of the season. Regardless, I'm very happy with how the wreath turned out.

My tree! This is probably my favorite picture of any part of my apartment thus far! However, this is a little misleading. I have a sweet Instagram filter on this picture, so it's looking a little more serene than it actually is in my apartment right now. This was also taken before I had wrapped any presents. I'll explain the Christmas tree skirt in another post. :)

Here's a peek at the wrapping paper and ribbon I'm using. I had to make it match the theme of my Christmas tree!


The tree, looking up... 

And of course Ellie couldn't be left out of the photoshoot. While I was trying to get a picture of the presents, she stuck her little head in. 

And another. I'm sorry, I can't resist. 

What do y'all think of what I've done? How are you decorating for Christmas?

I have one mini announcement: the blog has an Instagram! Follow Ellie and I at @emmiandellie! 

Until next time,
-Emmi

November 30, 2014

Thanksgiving Weekend + Christmas Decorating

Hey y'all!

I hope you had a relaxing Thanksgiving weekend and were able to eat your weight in turkey/stuffing/pie! My break was awesome; I ate tons of food and enjoyed a much-needed break from work. Even though this apartment is technically my home, traveling to see my family for holidays is really where I feel at "home." I was sad to leave, but I know I'll be back in a few weeks for Christmas (eek)!

While at home, I planned how I was going to decorate for the Christmas season. My first order of business was to swap bows on my grapevine wreath and throw away the pumpkins in front of my door! A little history about the wreath: I've seen my family decorate with grapevine wreathes, and now that I have my own place I couldn't wait to try my hand at fixing one up. I bought my wreath from my local Hobby Lobby in the beginning of the fall along with several sprigs of berries, greenery, and a wide green wired ribbon. I made a simple bow from the ribbon and attached it to the top of the wreath. 

My wreath when I first put it up, without it's green bow. 

And the new red bow! Sorry for the shady picture here... but you get the idea.

I don't have a picture of the wreath with the green bow because I swapped it out earlier this afternoon (forgive me)! However, it looked very similar to how it does now with the red bow. I plan to add more red berries and Fraser fir sprigs later this week once I get my tree, but for now this is what I've got. I love this wreath because I can use it from the beginning of the fall until the end of winter simply by adding/taking out different elements.

Next on my decorating list is to put my Christmas tree up. I've been thinking about colors for a while now, and I decided to go plain; all gold. I feel like plain lights and gold ornaments will flow best with my apartment, which already has a lot going on in it. This is the first Christmas that I'll be having my very own tree, and I can't wait to fix the tree up exactly how I want it (white lights, big bulbs, and of course a real tree). The tree will most likely be put up tomorrow, so expect pictures of the finished product later on this week! 

For now, I'll leave you with a glimpse of what I worked on over the break... 

Details to come. 


Until next time!
-Emmi

November 25, 2014

My Bedroom Curtains

Hey y'all!

I hope your week is off to a good start! I don't know about you, but I can't wait for Thanksgiving break. Ellie and I will be headed to Northeastern North Carolina Wednesday afternoon after work, and I'm thrilled to have some downtime at "home" with my family.

I thought I would share with you my latest accomplishment in the apartment. Months ago my aunt and I found some fabric remnants at the Habitat for Humanity Re-Store here in Hickory. If you've never been to one before, you need to check it out. Not only do they sell used furniture and housewares, but my local store also sells brand new couches and chairs from surrounding furniture stores. You never know what you might find... like some awesome fabric!

Anyways, I've had the remains of two bolts of fabric propped against my bed since September. One of those bolts is going to be used on the cane back chair, and the other I knew I wanted to use for curtains in either my bedroom or living room. Since moving in, I've been focusing so much on making the living area cute that I've completely trashed my bedroom. It's become a place to store all the extra "stuff" that doesn't blend perfectly in the living room, but I've slowly been trying to clean it up and turn it into a relaxing place to be at night!

It really bothered me that I didn't have curtains over my bedroom window, so when I moved in I hung the curtain from my last apartment just to try to keep the sun out in the mornings. I made this curtain out of burlap and lined it with black cotton fabric and it worked really well in my old room. However, I knew this was only temporary until I could sit myself down to whip some new curtains up.

I know how ghetto this must look. But trust that this actually looked good at one point, when it fit over my old window properly.

The window when I took the burlap down. So barren.

The "new" fabric.

And the window with its new curtains!

A close up!

How did I do it? I thought you'd never ask!

I started with about three yards of fabric and cut it in half long ways. The width of these curtains was limited to how much fabric I had on that bolt. If fabric was unlimited, I would have included much more width! Regardless, I then sewed the raw edges up on both sides and the bottom, and made my ruffle at the top in accordance to how long I wanted to the curtains to hang. I simply bought a plain curtain rod at Walmart to secure the curtains across the window, and hung them up! 

I know these curtains do not look professional and that this probably isn't the right way to make window treatments, but it works for me!  I think it looks 100 times better than before, and walking into my room makes me so much happier now! Not to mention it blocks the sun out...

What do y'all think of the curtains?

Until next time!
-Emmi


November 19, 2014

You Guessed It... Plus Pizza

The cane back chair isn't finished. I can't say I'm surprised with myself, but I am sorry to leave ya hangin' like this. I promise that moves are being made on the chair, just painstakingly slowly. Today I actually purchased a large sheet of particle board for the new base, but decided to go a different route instead. With help from a friend (thanks Will!) I'll hopefully have the chair complete in the near future. 

In the mean time, I thought I'd show you my excuse for not having this project finished!

Last weekend I surprised my dad by visiting him in Richmond, Virginia! He operates River City Wood Fire (a mobile wood fired pizza catering business) with his friend and co-owner, Joe. Besides catering special occasions, they appear at different breweries and vineyards on a regular basis. I had been wanting to visit and try out some of their pizza myself, and this past weekend was the most convenient time I've had since moving here! Last weekend they were at Midnight Brewery for their third annual Harvest Festival, and I knew it was the perfect time to strike. 


The oven!

So you can see the fire a little better...

The assembly line with fresh ingredients.

And my dad with a pizza hot out of the oven!

I can't rave about their pizzas enough. They were way more delicious than I was expecting and I tried multiple different kinds. I'm wishing something this awesome was close to me here in North Carolina. Sadly, we didn't get a single picture together (they were crazy busy) but it was good to catch up, even if it was only over breakfast the next morning! I only stayed for one night, so our visit was a short one; but next time I'll be back for the full weekend!

And just for your viewing pleasure...
Ellie looking fab in her red puffer vest! Since it's gotten so cold this week, I've been putting this on her. I think she actually likes it!

Stay warm, and until next time!
-Emmi


November 9, 2014

The Rattan Chairs

Happy Sunday! 

I hope your weekend was as fun as mine! My work friends and I went to a bonfire in Winston-Salem, so needless to say the chair isn't finished yet. While you're waiting for me to finish it up, I thought I'd share with you another upholstery project that I've done in the past. 

Once again I'm kicking myself for not documenting past projects better, but you'll just have to forgive, forget, and try to visualize the in-between steps!


I found four of these chairs in Bluffton, SC with my grandma (thanks Dee!) when I was interning for the South Carolina Department of Natural Resources. I love rattan, and I knew I'd use them one day when I had a place of my own. The existing floral fabric was the worst. Not to mention dirty. So I used my free time as an intern to fix them up!

When I took the seats off these chairs, they had a particleboard base which crumbled as the screws came out, so I had to replace them. Since I was living alone that summer with no power tools (and no knowledge of how to use them), I asked my boss if he could help me cut four new bases out of some wood from Lowe's. 

While waiting for the new bases, I spray painted all four of the chairs. My original plan was to use a very light blue, but since it was backordered at Hobby Lobby (and I'm super impatient) I chose a super bright blue called "Aqua" by Rust-oleum. After I got my new bases, I used the existing foam cushions for padding and began hunting for fabric!


I found my fabric at a local fabric shop, and as soon as I saw it I loved it. I actually wish I had bought more of this for future projects. 


Here's the "after" picture of my first chair...


The "after" picture for three of the chairs...


And a side-by-side comparison (plus an Instagram filter, I'm sorry)!

Maybe it's just me/I'm a little tacky, but I LOVE the "new" chairs! They're fun and bright, but still neutral enough so that they blend in with my apartment. Here are a couple shots of them in my apartment today:


Three are around my rattan glass breakfast table...


A close up...


And the fourth is sitting beside my glass bamboo TV table.

Needless to say, these chairs in total were way easier to fix up than the cane back I'm currently working on. They are also super lightweight and versatile, and easy to grab and throw around the coffee table quickly when friends are over.

What do you think of my fixer-uppers? Is the blue too bright or would you have gone with a different color?

Until next time!
-Emmi

November 3, 2014

I'm The Worst

I didn't finish my three goals. I know, I'm the worst. But I did finish two of those goals. They may have been the easier of the three but they still count, right? My iPhone pictures suck and I'm sorry, but BEHOLD:


Doesn't this corner look one thousand times better?


The elephant.


I know the knobs are the same, but I have a replacement in mind for them. I'll just have to deal with that hideous sheen until I order the new ones online!


And just so you can see a side-by-side...

The chair didn't happen this week. What I thought would be a time consuming, but relatively easy project has turned into an on-going ordeal. I'll be sharing a more in-depth post with lots of pictures of the chair when I actually finish it! I hate to disappoint, but just know my hands essentially have calluses on them from pulling out so many staples!

Happy November, and until next time!
-Emmi 


October 26, 2014

Three Goals This Week

Hey y'all!

After a couple weeks of silence, I finally feel like I have something worthy of sharing. This is the last week of October, which means that I've officially been in my apartment now for five months! 

Five months?! Where has the time gone (and why is my bedroom still a disaster zone)?

In honor of this not-very-special occasion, I'm going to try to wrap up a few things that I've been avoiding as of late. I have three unfinished projects that make me cringe every time I walk past them. My overwhelming project-ADHD has caused them to be ignored, but I've decided its time to deal with them once and for all! WARNING: Be prepared for what you're about to see... it might get a little ugly.

1. The Elephant Garden Stool


I picked this puppy up at Goodwill while still in school. I don't have a "before" picture to share, but it was a creme color with gold accents on random parts of the elephant. I cleaned and primed it last spring, and since then it's been waiting for it's official paint color. After adding a sheet of glass to the top, I thought it made a cool side table. How sad and lack-luster is it right now?

2. The Corner Cupboard


Please excuse the lighting and awful power cords running everywhere. 
This place is a work in progress, right?


I wish I had a "before" picture to show you how horrible this piece was. It originally was all white and gold, but I knew immediately that I'd be painting it black. My aunt and I found this at Goodwill (...are you seeing a pattern here?) and knew it would be a great anchor for the corner of my breakfast nook. I started painting almost immediately and ran out of paint, so it sat in the corner for a month until I moved it into the living room. Now, it's sitting the living room half-painted (cue the project-ADHD) with its horrible faux-brass knobs.

And just so you can see these projects side-by-side... Isn't it a total eyesore? 


3. The Cane Back Chair 


When I saw this chair, I immediately had a vision for it. I can't resist a cane back. Honestly, this would be sitting in my living room as-is if it didn't have that nasty rip in the upholstery. This project is a little more intense than the other two, but I'm really going to try to wrap it up this week. 

This just makes me shudder. 

I'll leave you with this: Ellie realizing this week will be more about painting and upholstery than playing with Piggy and Duck. 


Hopefully I'll be posting the outcomes in the next few days! Have a good start to your week, and wish me luck on mine!

Until next time!
-Emmi

October 12, 2014

Why Am I Doing This?

Hey y'all! After tweaking with Blogger for a little bit, I'm super excited to write my first blog post! I'm not sure where to start now, but I thought I would begin with an introduction of sorts.

I started this blog for two big reasons: so my family can see my latest decoration endeavors (where honestly most of my free time goes), and because I feel I have too many projects cooped up here in my tiny apartment that the world needs to see! This blog will probably be mostly design-related, but you can also expect to see posts about my recent adventures in a new city, and my 6 month old Boston Terrier, Ellie. 

For now, I'll leave you with one of my favorite pictures of my baby!


Until next time!
-Emmi